May 18, 2020
Admin
5 min.
Lifestyle
Recipe of GujiyaGujiya Recipe How to make Gujiya at Home
Disclosure : When you purchase a service or a product through our links, we sometimes earn a commission, at no extra cost to you.
Recipe of Gujiya - How to make Gujiya at Home
Gujiya is sweet from north India. Recipe for Gujiya is very easy to prepare at home and very tasty to eat. Especially in the festive season of Holi, where people greet each other and indulge in the play of colors, this dry sweet is very much in demand. However, people who want to know about how to make Gujiya should know that this sweet is also taken by all people irrespective of time & season, just for the heavenly taste it provides.
Though the Gujiya Recipe was first invented in Northern India, the taste of this sweet dish has ensured that this delicacy is savored all over the country with much satisfaction. Here it would be important to mention that the Recipe of Making Gujiya does change a bit, depending on the part of the country, where it is being made - depending on the local availability of ingredients and a person’s culinary taste.
In the northern part of the country, this sweet is known as Gujiya, however, in other states, the name of the sweet may vary. In Maharashtra it is known as Karanji, in Bundelkhand, it is called as Sindhara – Sindhori, Ghughra in Gujarat, Somas in Tamil Nadu and Pedakiya in Bihar & Jharkhand.
In Northern India, the Recipe of Gujiya containing Khoya (also known as Mawa) is the most common variety of Recipe of Gujiya. However, people who do not take milk products for whatever reason may ask the question that - How to make Gujiya without Khoya. However, Gujiya Recipe without Mawa is also very much possible, as is done in Southern India, where Coconut is used as an alternative. People of Bundelkhand may choose to mix khoya & coconut both in their Mawa Gujiya Recipe.
We are describing below Recipe of Gujiya in English for all our readers who want to know as to how to make Gujiya with Khoya, in the confines of their own home without any hassles.
Gujiya Recipe
Ingredients Needed for Recipe of Gujiya
- White Flour – 2 cups
- Semolina (Suji) – 2 tablespoons
- Ghee – ½ cup for frying and 2 tablespoons for mixing for flour
- Water – as per requirement
- Khoya – 1 cup
- Sugar – 1/4th cup
- Raisins (Kismis) – 10 grams
- Green Cardamom powder – ½ teaspoon
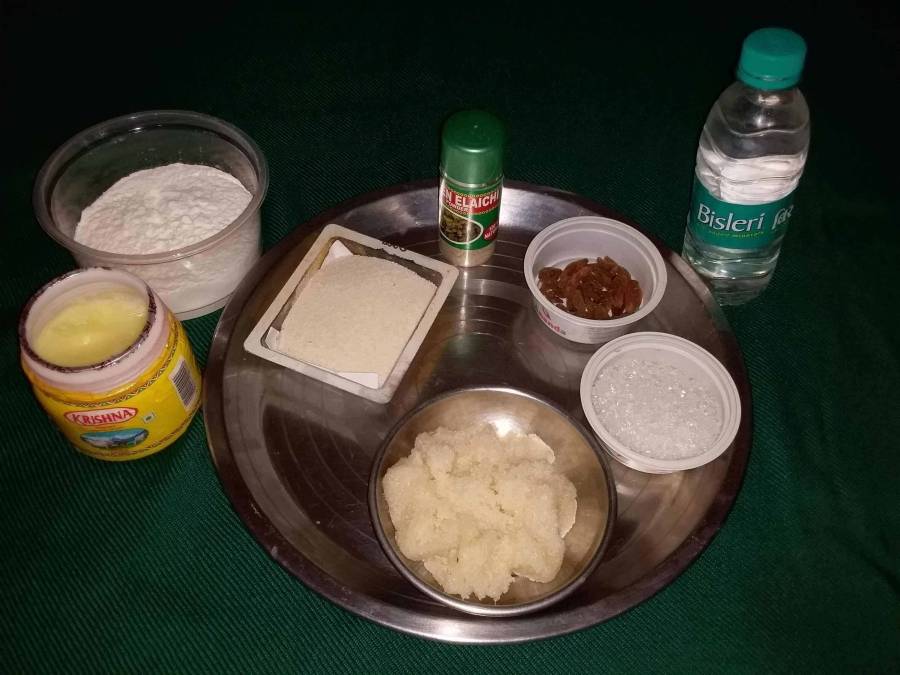
Ingredients Needed for Recipe of Gujiya.
How to Make Khoya Gujiya
-
The method for making Gujiya using Recipe for Gujiya starts with mixing white flour and Semolina uniformly on a plate.
-
Next, melt 2 tablespoons of ghee by keeping it on a hot pan.
-
When the Ghee gets a little cold, then put it on a container containing flour and mix them both nicely and then add a little water with flour according to requirement and make a hard dough like the one used to prepare Indian puri.
-
Cover the dough with a wet piece of cloth at least for ½ hour.
-
In the meantime, put a pan on a low medium flame burner. Add 1 teaspoon ghee to it. Once the ghee melts then put Khoya in it (Khoya is easily available in the market) and stir.
-
Once the Khoya starts to soften then add sugar in it and mix sugar nicely with the Khoya mixture by stirring it constantly.
-
Once everything becomes nicely mixed and it becomes a homogeneous mixture, then add Raisins (Kismis) into it. Again, mix everything uniformly and switch off the burner and sprinkle cardamom powder in this mixture.
-
Mix the components uniformly and allow them to cool in room temperature and later keep it aside. This preparation would serve as the stuffing for making Gujiya.
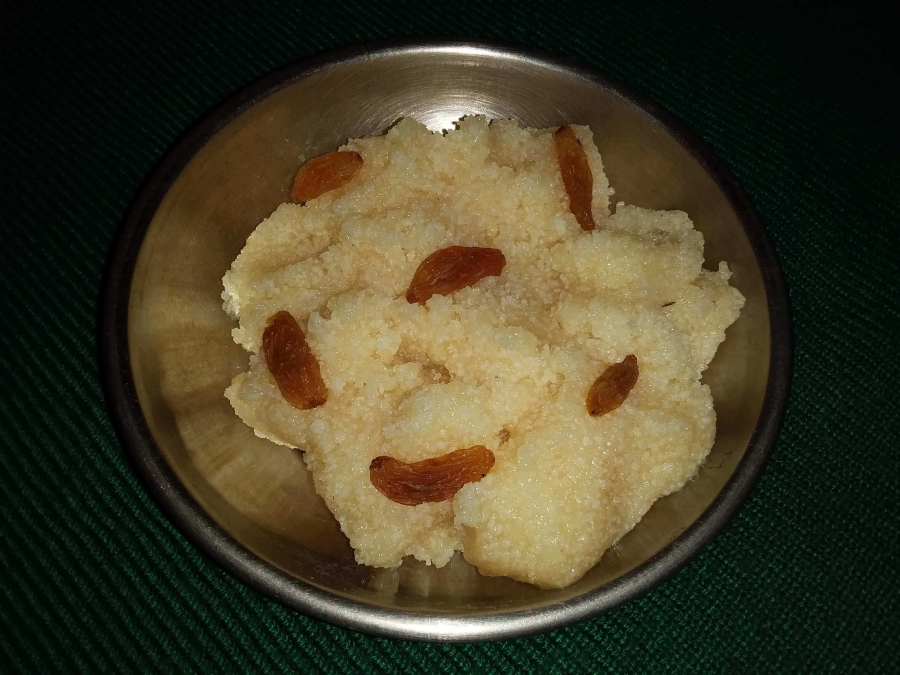
Stuffing used in Recipe for Gujiya.
-
Take small portions from the previously prepared dough and make round balls, as is done while preparing puri at home. These are next rolled into a circular shape, with an approximately 4-inch diameter in size.
-
Like this multiple circular raw puris like masses are prepared from the initially prepared dough.
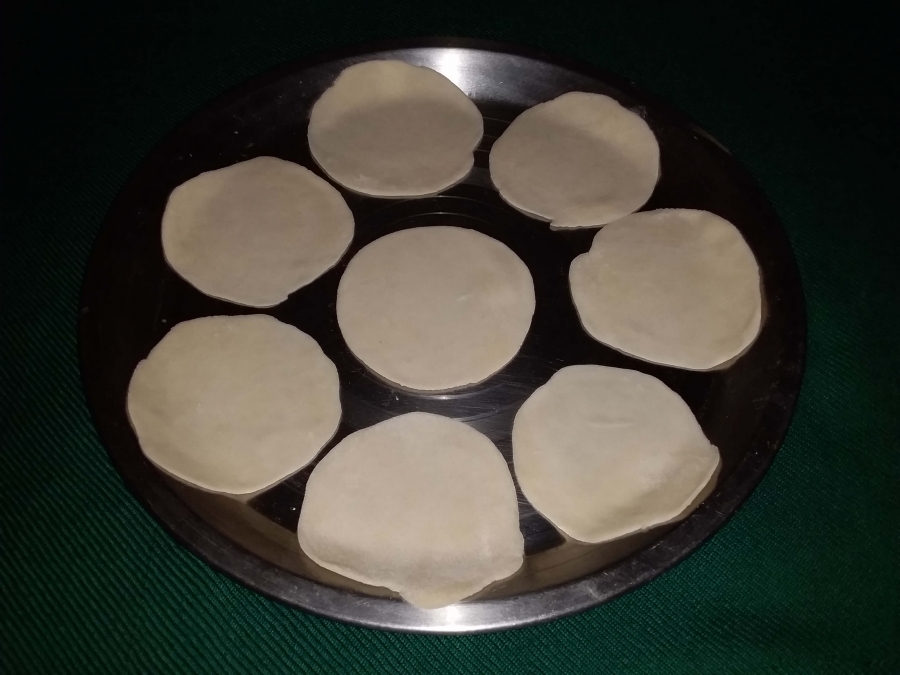
Base of Gujiya, as described in Gujiya recipe.
-
Next one of the above mentioned raw puri like mass (prepared from the dough) is taken in the left palm. Next little stuffing material is taken and place it longitudinally on one half of this circular mass and keep the other half of the mass, empty of contents.
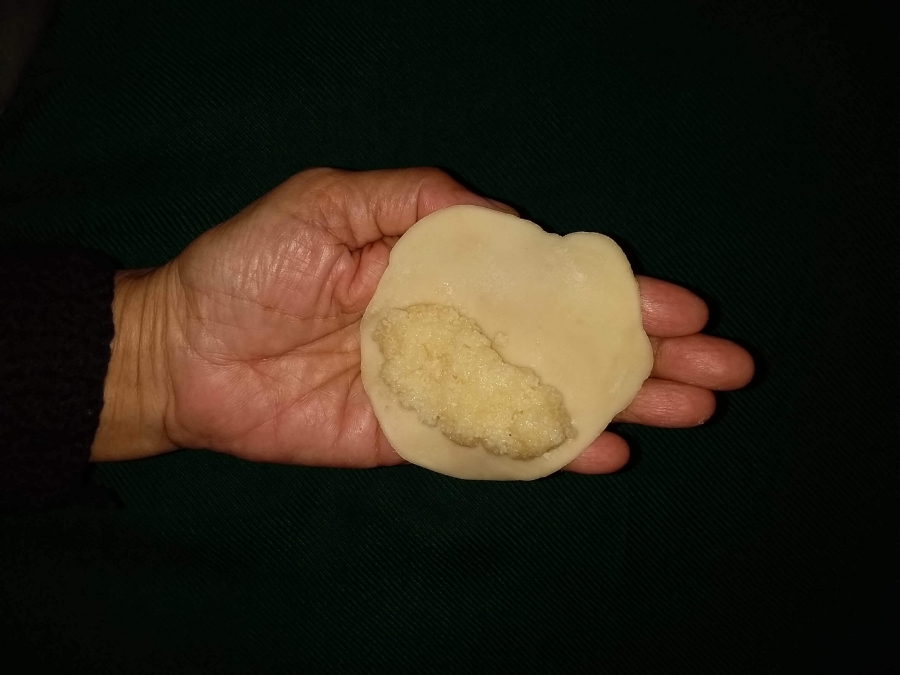
Making Gujiya, (Image -1)
-
Now the fold the empty portion of the mass over the portion where the stuffing is present in a manner so that the edges of the upper surface overlap the edge of the lower surface and the stuffing is trapped in between the two layers.
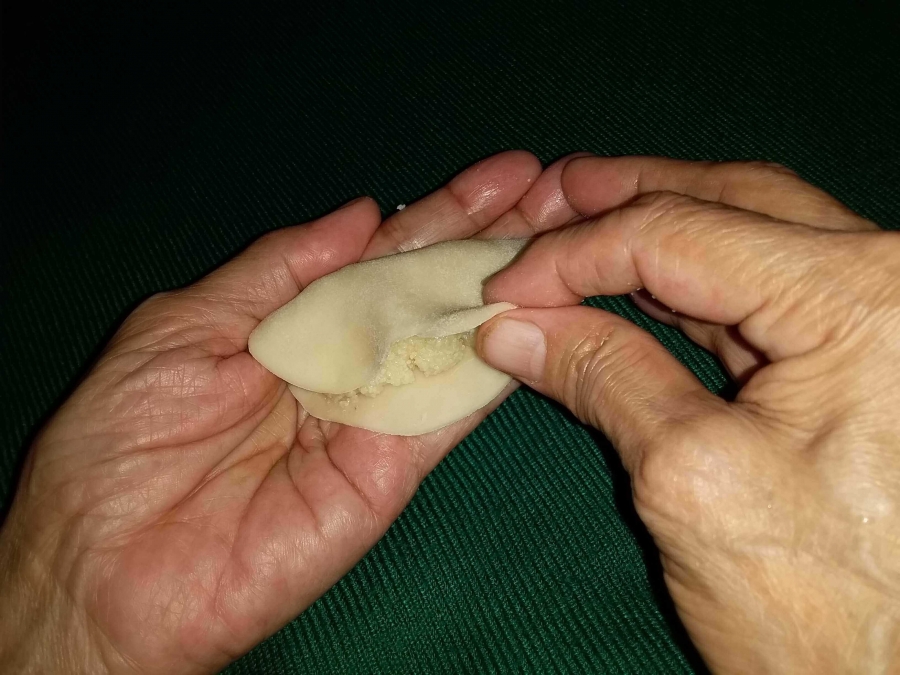
Making Gujiya, (Image - 2)
-
Press the overlapping edges together with the help of pressing of fingers together. Twist the closed edges and this way the edge takes a twisted appearance.
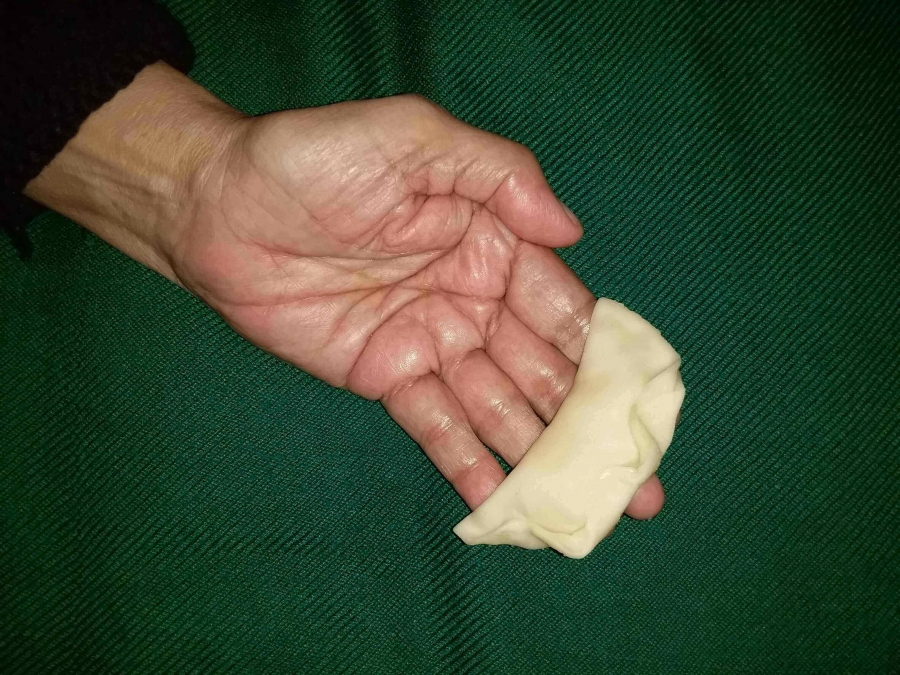
Making Gujiya (Image -3)
-
Cover this prepared raw Gujiya by a very thin (so as not to have much weight) wet cloth.
-
Like this prepare multiple raw stuffed Gujiyas and keep them all under the wet cloth previously described. Thus covering by wet cloth ensures a crunchiness is present in the finally prepared Gujiya.
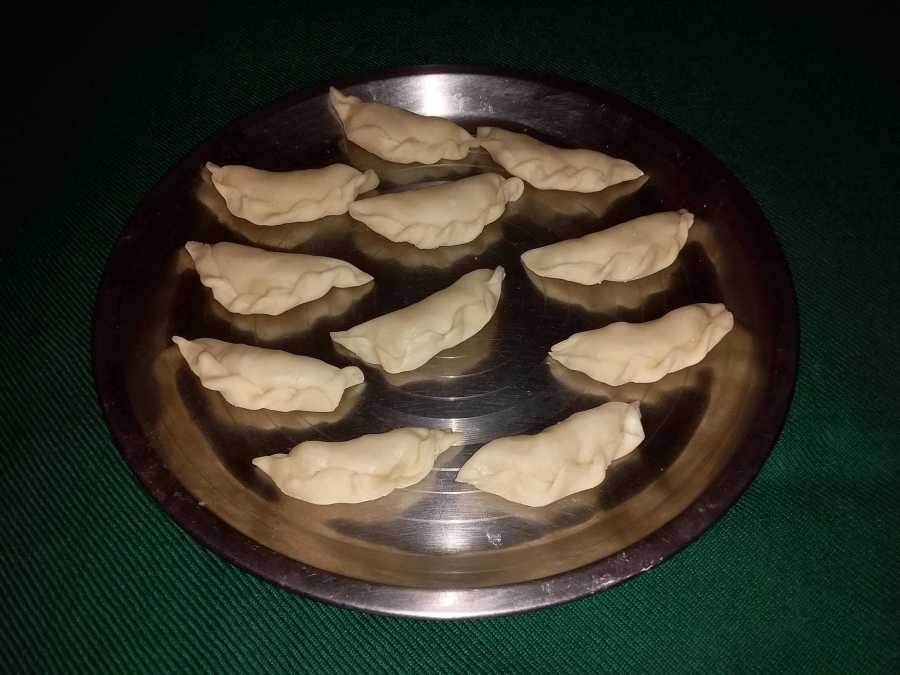
Making Gujiya (Image 4)
-
Next for making Gujiya, put a non- stick pan or normal karahi on a low medium flame burner and add 1/4th cup ghee to it. When the ghee melts and becomes hot then add very little previously prepared dough in it (this is done for testing if the ghee is ready for frying or not).
-
If the dough floats on the upper surface of ghee and gets fried properly that means it is now the right time to start frying of raw Gujiyas.
-
Now put 2 to 3 raw Gujiyas in the warm ghee for frying. Here it should be remembered that don’t fry many Gujiyas together (at the same time) because empty spaces should remain between each Gujiyas. Then only they will get fried properly and become crispy.
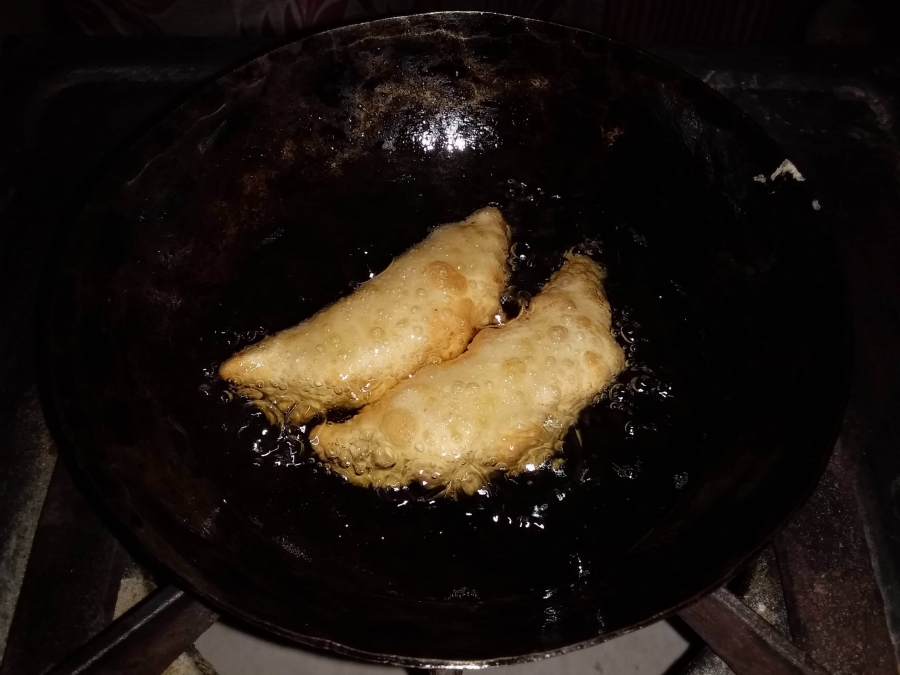
Frying Gujiyas as described in Gujiya Recipe.
-
Fry them nicely from both sides, by turning over the Gujiya, till they become golden yellow.
-
Transfer the prepared Gujiyas to a serving bowl. This brings us to the end of the discussion on the Recipe of Gujiya, as the preparation is now ready to be served to the guests or family members.
-
In case the Gujiyas are not consumed immediately, they can be stored by keeping in an airtight bottle for a long period.
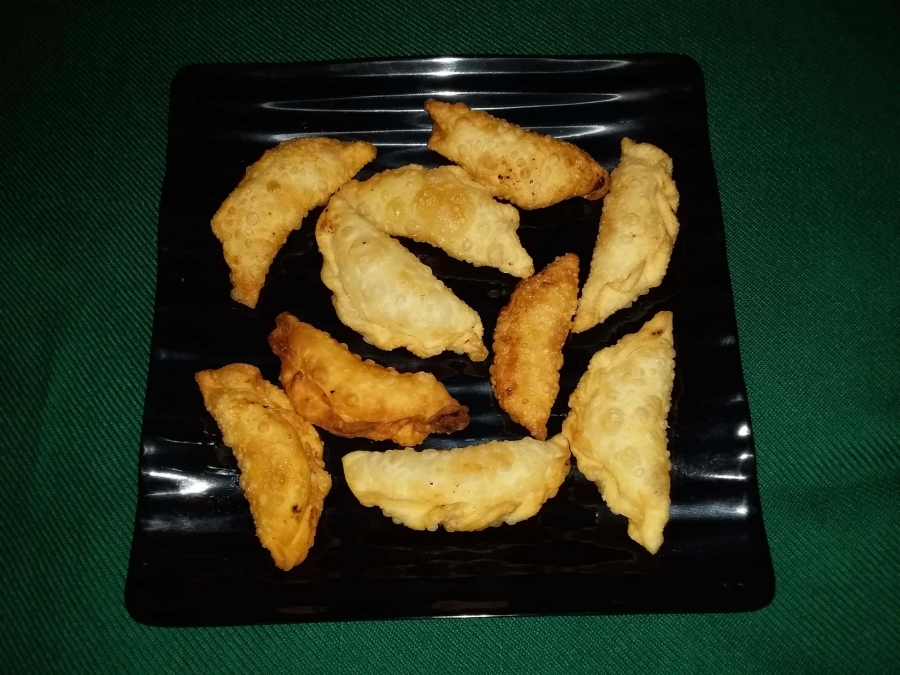
Gujiya - The final dish prepared by Guiya Recipe.
Finer Points of Gujiya Recipe for Those Who Want to Know as How to Make Gujiya At Home
How to Make Gujiya, When Khoya Is Not Available Nearby (Making Khoya At Home)
-
If Khoya is not available in the nearby market, then it can be also easily prepared at home.
-
For this take 1-liter full cream milk and put it on a low medium flame burner. When it starts to boil then stir it continuously, till it becomes condensed.
-
When it starts solidifying then switch off the burner and take out the hot condensed milk in a bowl and allow it to cool at room temperature. Once it becomes cool it would take a solid shape, which is known as khoya. This khoya can be now used in Gujiya Recipe for the preparation of Gujiya.
How to Make Gujiya By Baking
-
In case if a person does not take fried food items then Gujiya can be prepared by baking also. In that case, prepare raw Gujiya as described previously and then keep it in the preheated oven and bake it in 180-degree centigrade for 7 to 8 minutes.
-
However, before putting them in the oven, brush melted ghee on both sides of the Gujiya (this ensures that the raw Gujiya doesn’t stick to the pan) and then bake it. After that switch off the oven and turn Gujiya on its sides and once more bake it for 3 to 4 minutes, then switch off the oven and take out the Gujiyas from the oven.
-
When the Gujiyas become cool after keeping outside in normal room temperature, then store them in an airtight bottle and use it according to requirement.
How to Make Gujiya for Diabetic Patients
-
In diabetic patients, sugar consumption has to be highly regulated. In such a situation, another low-calorie sugar substitute like – Sugar-Free, can be used for the preparation (as per requirement/individual choice).
-
Hopefully, the details mentioned above would help all those who were searching for Recipe of Gujiya, for making Gujiya for people with different tastes & requirements.
(DECLARATION - All the images used in this site, are either from personal collection, or are images available in Public Domain. The owner of this website is grateful to all those, who donated their images to – Wikipedia, Wikimedia, Flickr, Pixabay, Picryl and all other sites; for free use, as images in Public Domain.)
Disclosure: When you purchase a service or a product through our links, we sometimes earn a commission, at no extra cost to you.


